Permission Groups
Ultra Commerce, by default, considers all users as if they were customers (thus barring all back-end access) unless told otherwise. Administrative accounts, then, are merely standard accounts which have been granted permission to access part or all of the back-end.
- Navigate to the Permission Groups listing
- Create a New Permission Group
- Add an Account to a Permission Group
Navigate to the Permission Groups listing
Permission Groups can be created to convey page visitation rights to a particular group. To access the section:
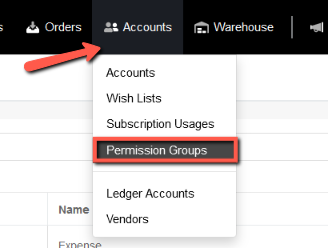
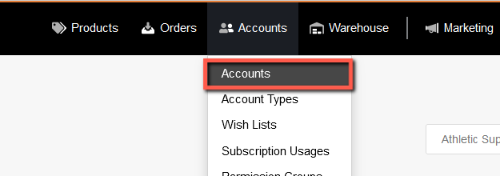
- Click on the Accounts tab on the Ultra Commerce toolbar.
- Select Permission Groups from the drop-down.
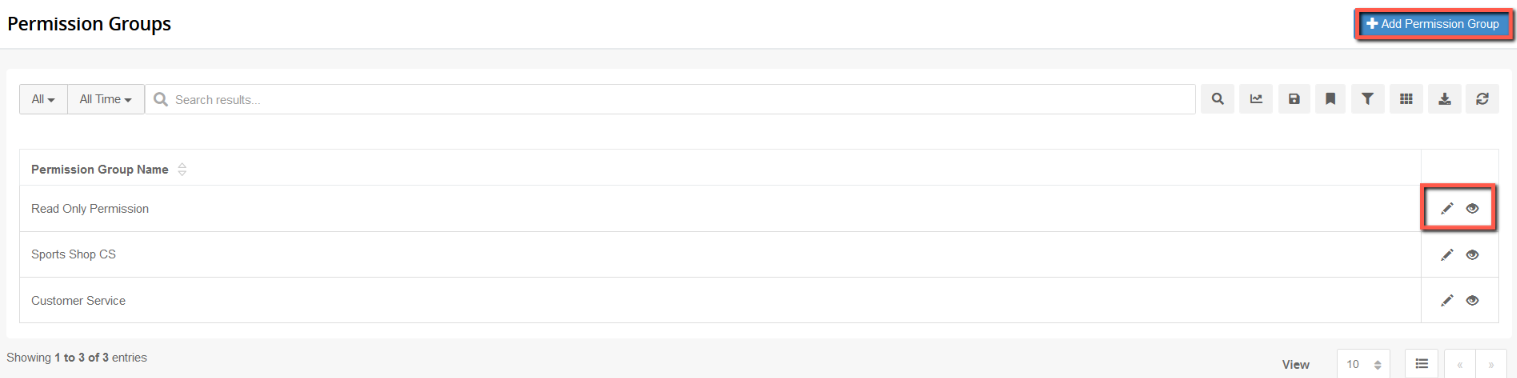
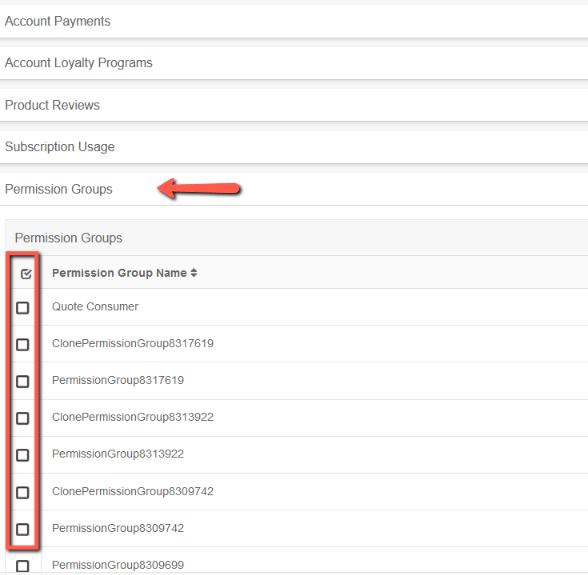
The Permission Groups listing page will display.
Create a New Permission Group
To create a new Permission Group,
- Click the blue + Add Permission Group button.
On the Create Permission Group form that appears:
- Enter the name of the Permission Group in the space provided
- Enter a unique Permission Group Code
- Click Save.

The permission group detail screen will appear.
There are two tabs Data Permissions and Action Permissions that need to be expanded and then the appropriate permissions need to be checked off.
The Accounts tab displays what accounts have been assigned to the permission group. Instructions for assigning an account are given in the Add an Account to a Permission Group section below.
The Records Restrictions tab
.png)
Data Permissions tab
- Expand the Data Permissions tab.
.png)
By default, no permissions are checked off.
- Check the entities/properties you would like include. If you are granting complete permission, you can click the upper level check box for Create, Read, Update, Delete, Process and Report or just check off the desired permissions.
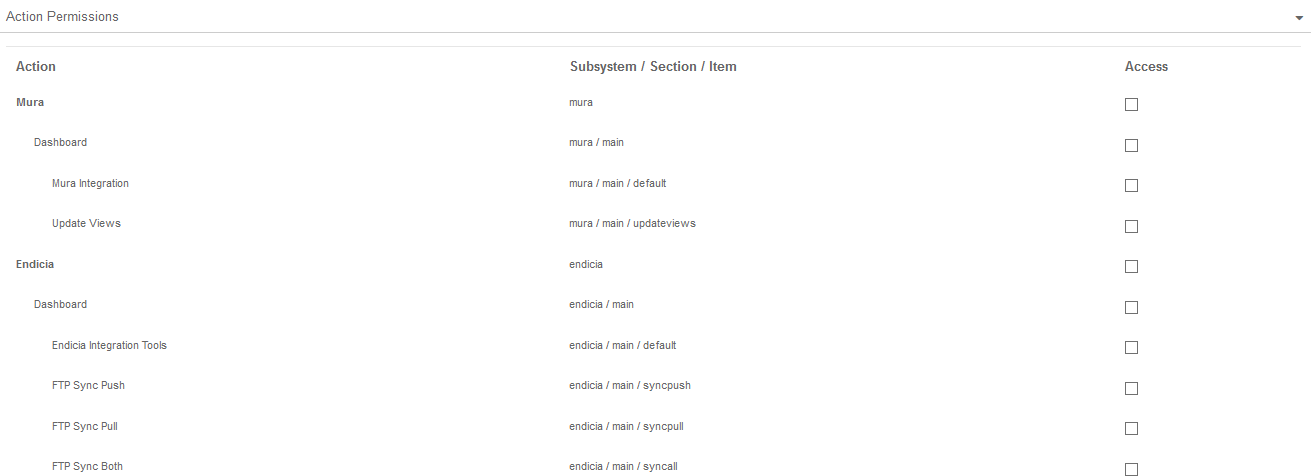
Action Permissions tab
Now it is time to set the Actions Permissions.
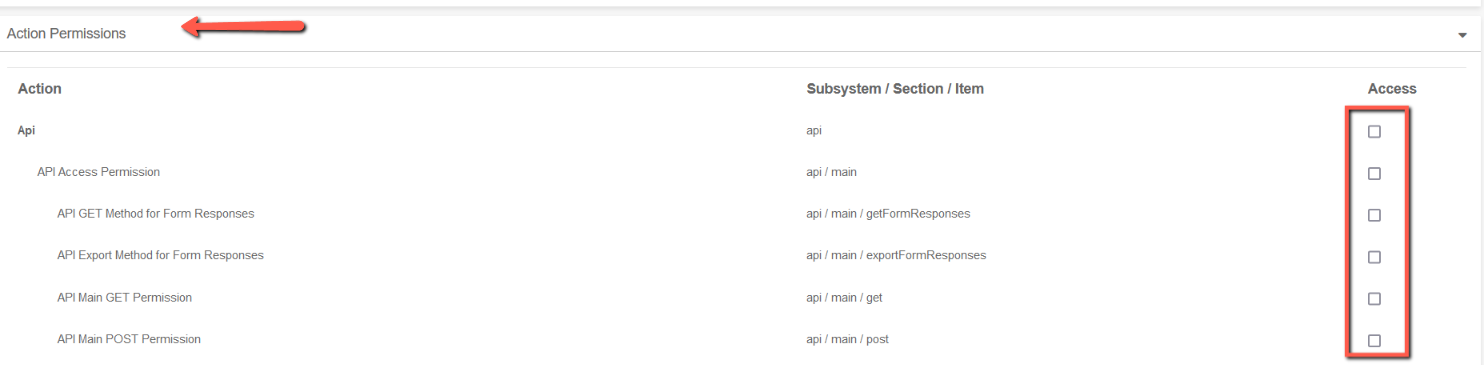
- Expand the Actions Permissions tab to check off the actions permissions for the group.
- Click Save in the upper right hand corner to make the changes permanent.
Accounts tab
This is the tab where you will see any accounts displayed that have this permission assigned to them.
.png)
Add an Account to a Permission Group
To add an account to a group,
- Select Accounts from the Ultra Commerce navigation toolbar at the top of the screen and
- then select Accounts from the drop-down.
The Accounts listing page will display.
.png)
- Click the edit (pencil) button next to the user account you'd like to add to a group. You will now be on that account's detail page and at the bottom are tabs with additional information. Look for the Permission Groups tab.
- Expand the Permission Groups tab and check off the group or groups to which you'd like to add this account.
- When you are finished, click Save in the upper right hand corner of the page.
The Accounts that are added to the permission group will also display on the Accounts tab on the permission group detail.