Brands
You're probably already familiar with the concept of branding - a name, perhaps the company's, perhaps not - under which products are sold. Some companies use no brands; others use many. Ultra Commerce includes a robust brand management system to handle any branding needs you may need.
Navigate to the Brand Listing Page
- Click on Products on the Ultra Commerce toolbar.
- Select Brands from drop-down.

This Brand Listing page will appear. This will be a listing of all Brands that have been added to Ultra Commerce.
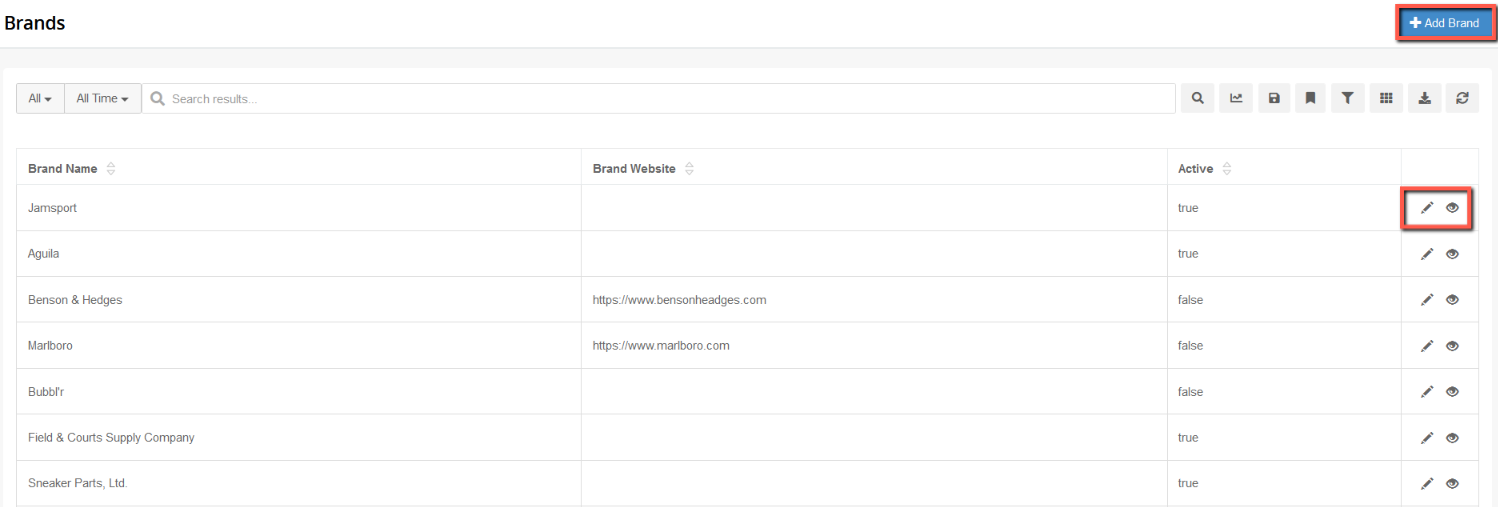
Add a new Brand
To add a new Brand to Ultra Commerce:
- Click the blue + Add Brand button to add a new brand.
The Create Brand screen will appear.
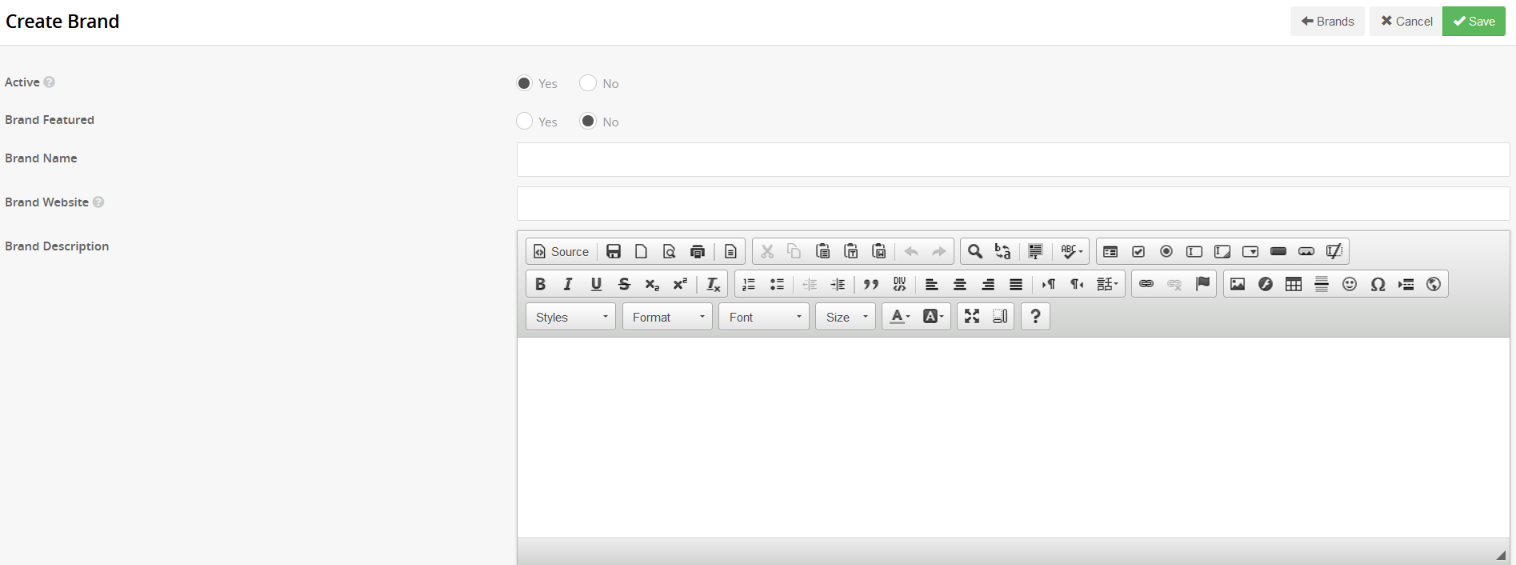
- Active to Yes or No - set this depending on whether the Brand should be active or not.
- Brand Name - Give the Brand a name.
- Brand Website - Fill in the website for the Brand if it exists.
- Brand Description - Fill the WYSIWYG area with a description if desired.
- Click Save.
You will now see the Brand detail page, including the Basic fields just created and tabs for Brand Logo, Products, Vendors, and Brand Settings which are described below.
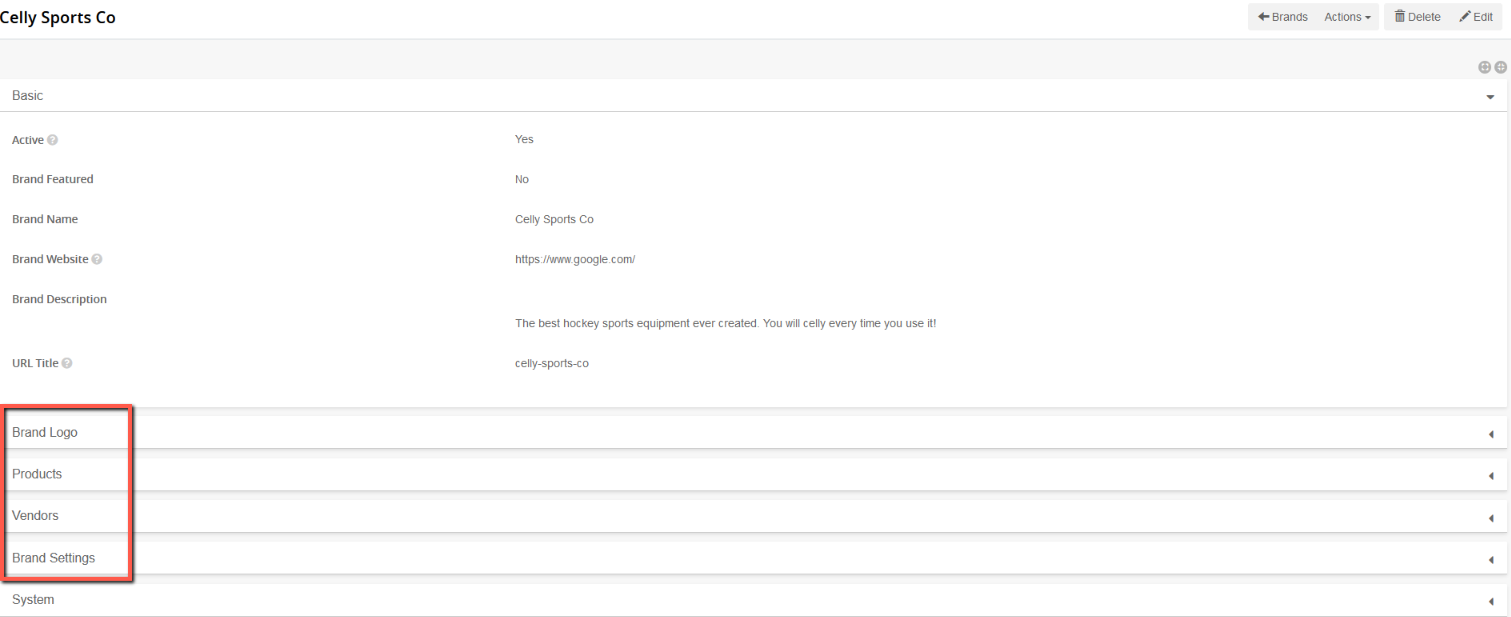
Brand Logo tab - this tab is where you can upload your logo.
![]()
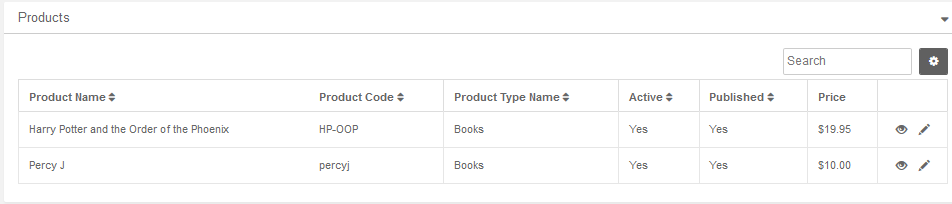
Products - This tab displays products that have been assigned the Brand through the product creation process. A Product cannot be added to a brand from the Brand manager. Instead, visit the product's detail page and select the brand from the drop-down menu and then save the product. Now that product will be listed on the Products tab of the Brand detail page.
Vendors - This tab is where Vendors associated with the Brand can be selected and saved.
.png)
Brand Settings - This tab displays technical settings for brand display, description, and keywords.
The Brand Display Template - the content object that you would like to use as the template for displaying product on the front-end. Typically this is a page in your CMS or Custom Application.
