Attribute Sets
Attribute Sets are really helpful for:
- Extending Products and Sku data
- Asking for extra order information
- Data needed for integrations
To access the Attribute Set listing:
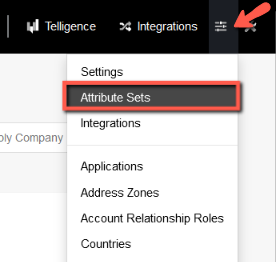
- Click Config on the Ultra Commerce toolbar.
- Select Attribute Sets.
From here, you can view and edit existing attribute sets, or create a new ones.
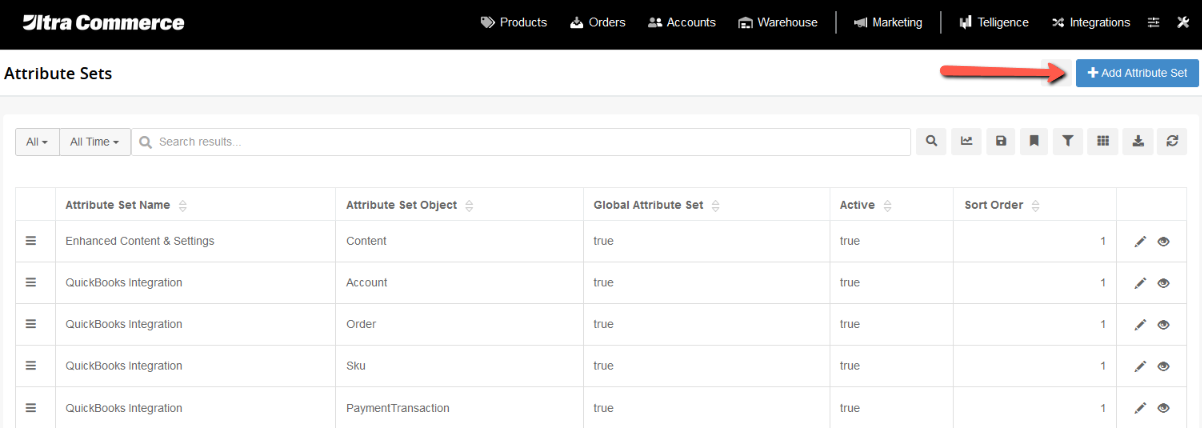
Creating a New Account Attribute Set
Begin by
- clicking the blue +Add Attribute Set button in the upper right section of the Attribute listing page and
- selecting Account from the Attribute Set Object field.
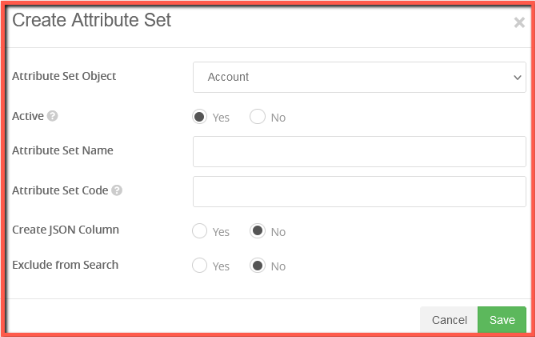
- Choose a descriptive Attribute Set Name which clearly indicates the fields this set will define,
- and an Attribute Set Code which relates to the name (for example, "Extended Account Info" for Name and "exAI" for Code). By default, all Account Attribute Sets are global.
There are many attribute set objects to choose from:
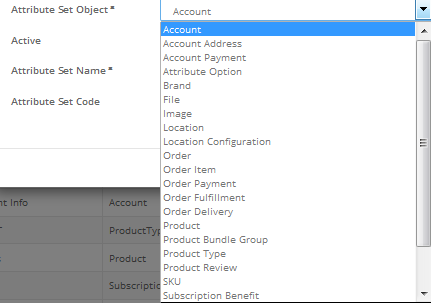
Clicking Save will bring you to a page for the attribute set, which lists all attributes within the set and a description (if desired).

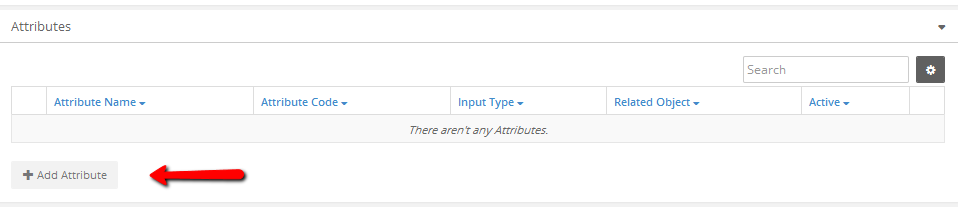
If this is a new attribute set, it will have no attributes, so add one by clicking + Add Attribute. (expand the attributes accordion)
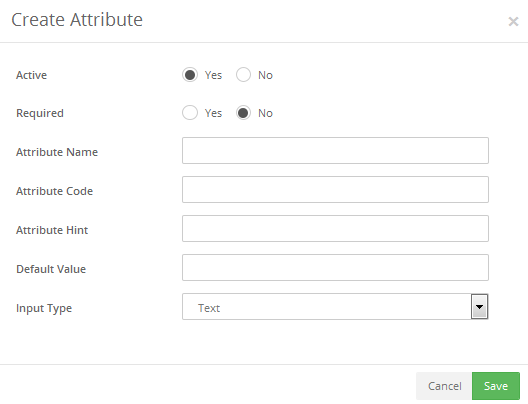
Input an Attribute Name and Attribute Code that will help identify the attribute. Since we are asking for extended information, we might add attributes like "Mother's Maiden Name" (code: momName), "Social Security No." (code: ssn), and "Date of Birth" (code: dob). Any text entered into Attribute Hint will display on the frontend if coded to do so. For multiple-choice attributes, set Default Value to 1.
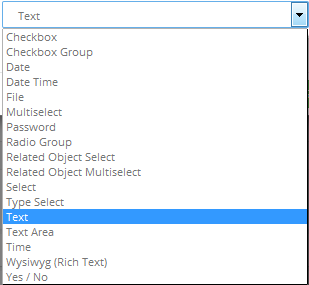
Input Type (see image above, right) determines the means by which users will interact with this attribute, and the input type you choose is heavily dependent on the nature of the attribute. For example, since maiden name and SSN require only a single line of text, you would choose Text for them (Text Area provides a multi-line input area). For Date of Birth, however, you'd want a Date input. Other examples: "Do you smoke?" (Yes / No); Race/Ethnicity (Radio Group or Check Box).
Saving your attribute will bring you to the attribute page, which can be used for adding a description and adding options to this attribute. Text fields and the like will have no options, but in order for a multiple-choice attribute to be useful you must have at least one option, so click + Add Attribute Option.
An attribute option has two parts: a Value (use consecutive integers) and a Label. For attributes with multiple options, remember that the Default value will dictate which option is the default. If you set Default Value to 1 when creating the attribute, remember to change it later to reflect your actual desired default's value.
Once an attribute set has been fully created, you will still need to incorporate its display into your site's account info template for any frontend functionality. Until these new fields have been programmed to display on an account page, users will be unable to enter them when creating or editing their account. This information can be manually entered from the backend via a tab which will appear for the new Account Attribute Set.