Vendors
The Vendor listing is where an administrator can go to create and view vendor accounts and view vendor orders associated with the vendor account. Before a vendor order can be placed, the vendor must be added here first.
Navigate to the Vendor listing
To access the Vendor Listing:
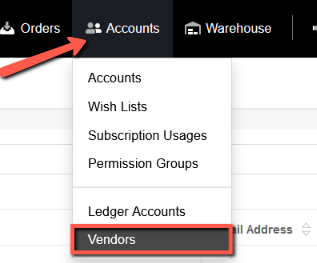
- Click Accounts on the Ultra Commerce toolbar.
- Select Vendors from the drop-down.

From the Vendor Listing page you can view a summary of all accounts including Vendor Name, Account Number, Vendor Website, and Email Address.
Create a new Vendor
To create a new Vendor:
- Click the +Add Vendor button.
This will open the Create Vendor form.
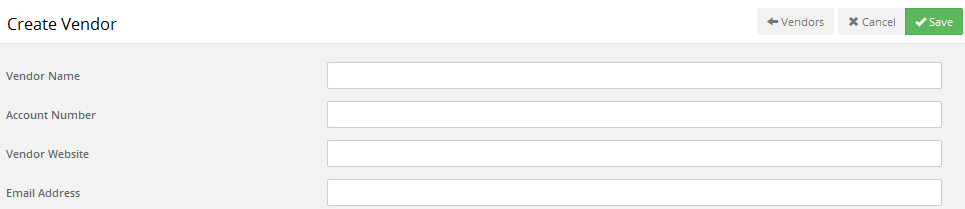
- Enter a valid Vendor Name.
- Enter a valid Account Number.
- A Vendor Website is recommended, but not required.
- Enter a valid Email Address, and press Save.
Additional tabs will open once the Create Vendor information is saved, including: Vendor Addresses, Brands, and Orders.

Add Vendor Addresses
Vendor Addresses tab - This is where you can see the vendor address and is used to add the vendor's addresses.

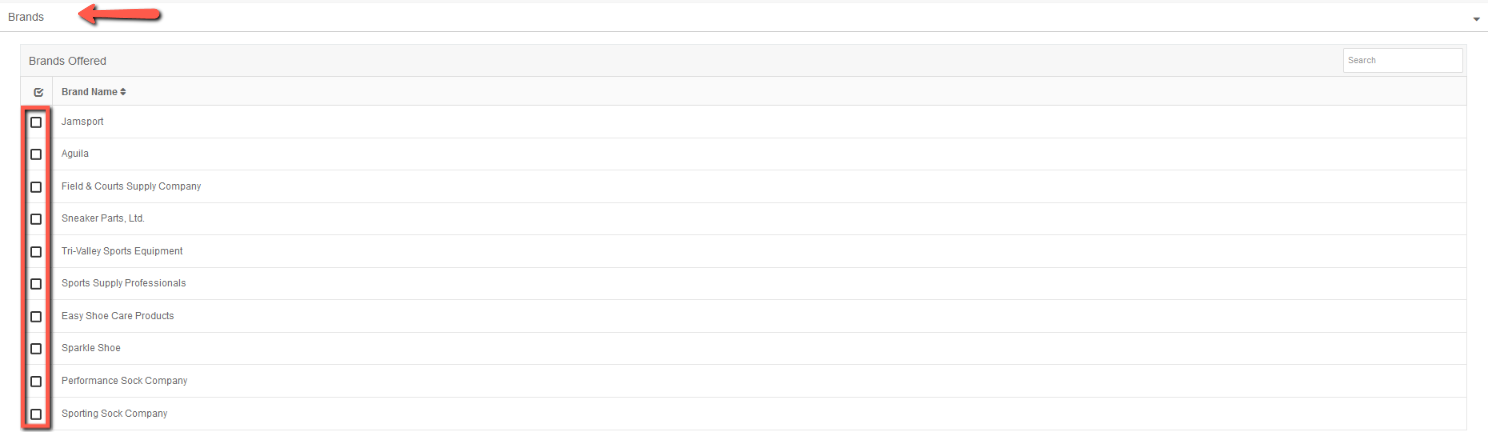
Add Brands
Brands tab - used to add brands that are sold by this vendor. The skus that are associated with the brand selected will display on the Assigned Items tab of the Vendor Order detail.
- Put a check in the checkbox next to the Brand(s)
- Click Save in the upper right corner of the Vendor detail page.
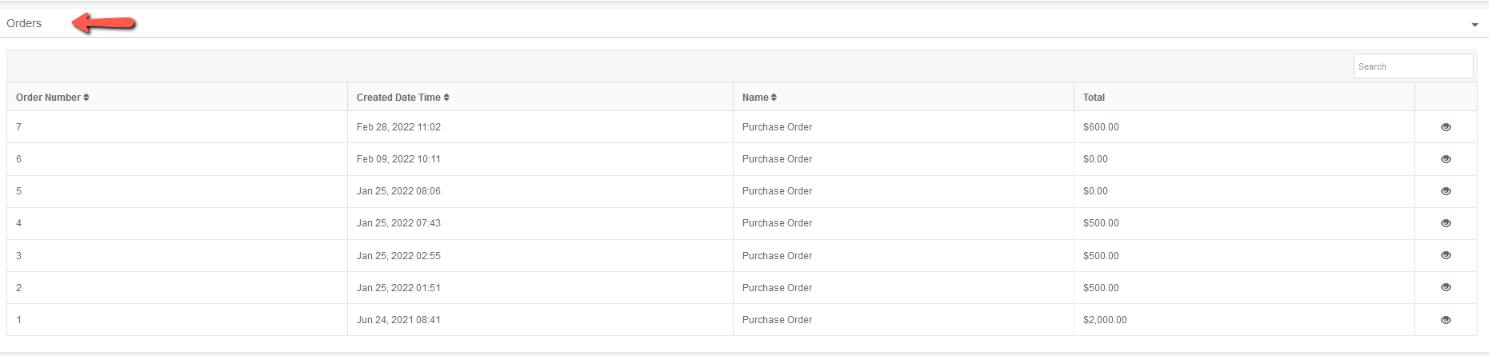
View Orders
Orders tab - lists current orders placed with this vendor. To learn how place a vendor order, to the Vendor Order section of the user guide.
Edit an existing Vendor
To edit an existing Vendor:
- Click Accounts on the Ultra Commerce toolbar.
- Select Vendors from the drop-down.
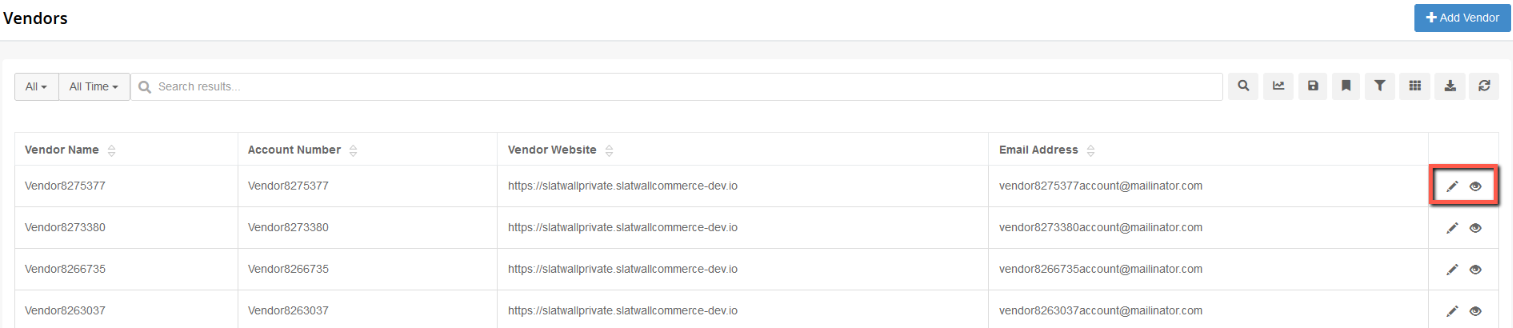
- Click pencil icon to the right of a vendor on the Vendor Listing page.
This will open the Vendor detail page.
- Edit the fields you would like to edit
- Click Save.