Workflows
Workflows automate tasks that used to be done manually. Trigger automated status updates, export or import data, follow up emails, etc.
View Workflow Listing
- Click on Telligence from the Ultra Commerce toolbar.
- Click on Workflows from the drop-down.
.png)
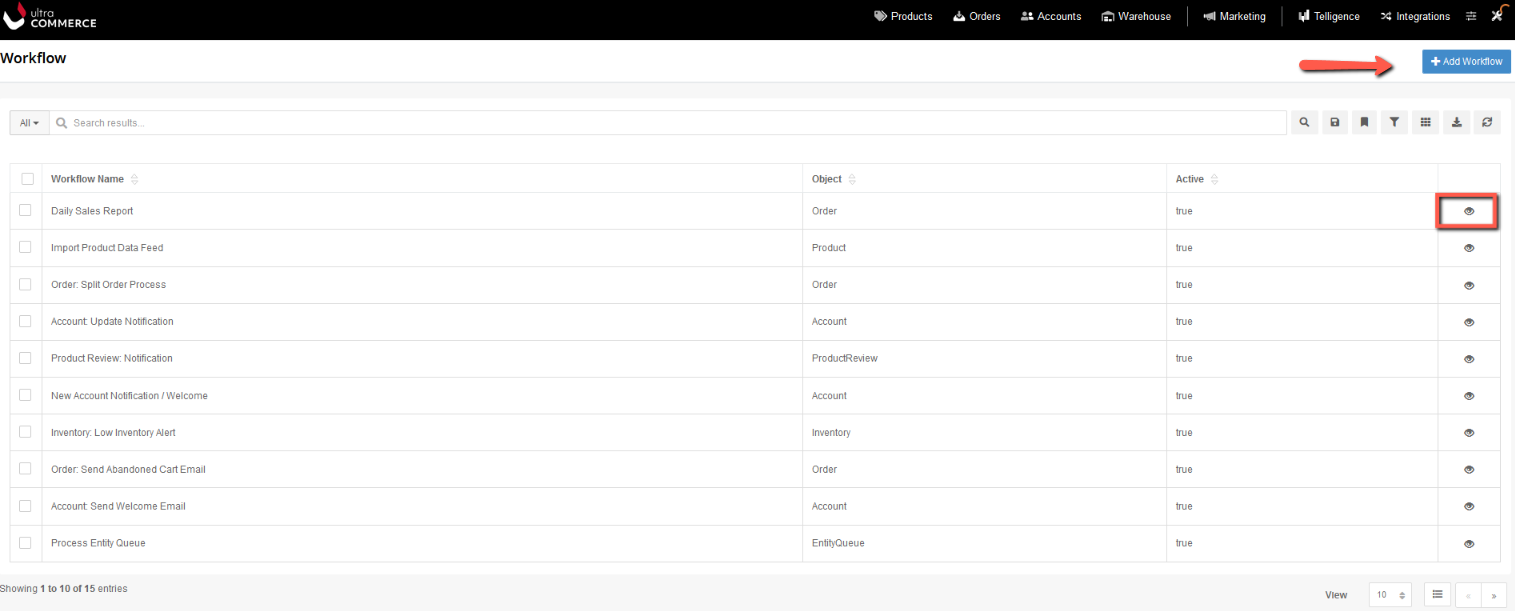
Any workflows that have been created will be listed here.
Create a New Workflow
In the example below, a workflow an order is placed successfully and then an email is sent to the person who placed the order:
- Click the +Add Workflow button.

This will bring you to the New Workflow create screen with the Basic tab expanded.
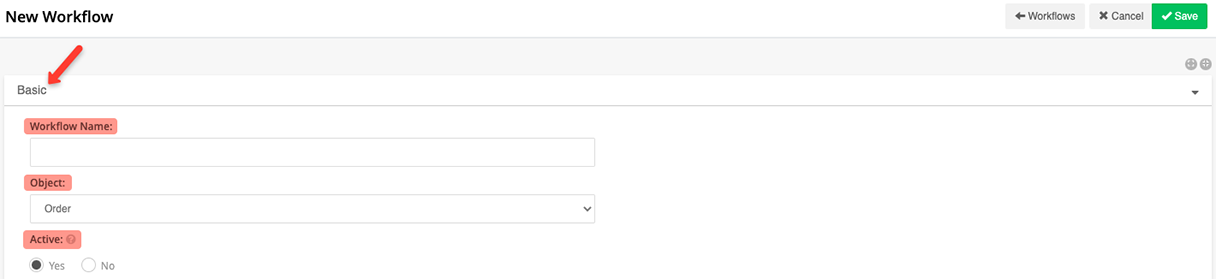
Under the Basic tab:
Workflow Name: Fill this field with a name that will give an idea of what the workflow does.
Object: Select the object related to the workflow. So, if you are creating an Order workflow for orders where the order is successfully placed, you would select Order for the object.
Active: If the workflow should be active, set this to Yes.
Add a Trigger to a Workflow
Under the Triggers tab:
- Click the Triggers tab to expand. There will be a list of all created triggers and a + Add Trigger button to create a new trigger.

- Click the +Add Trigger button.
The New Trigger modal appears.
- Select Event or Schedule.
- An event based trigger might be: An email being sent once an order is placed (place order success would be the trigger).
- A schedule based trigger might be: Sending an email once a week with product information.
- In this example, Event is selected.
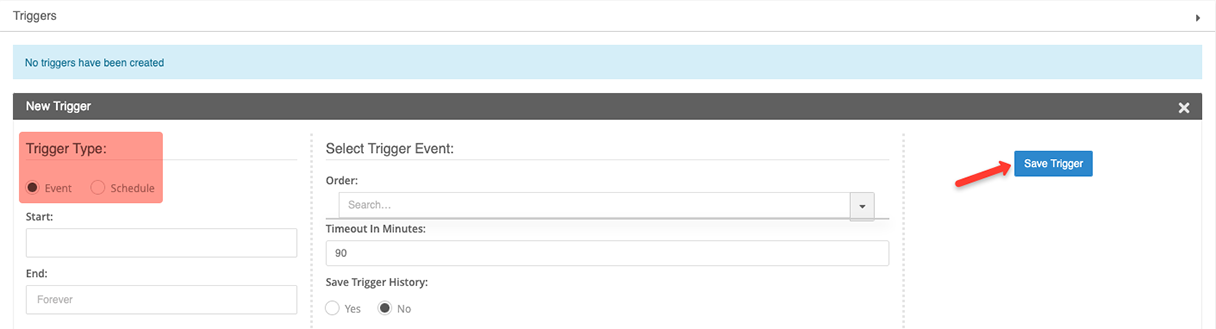
Start: Select a start date for the trigger.
End: Select an end date for the trigger.
Select Trigger Event Search: Start typing to search for a trigger event, or click the triangle on the right to reveal the available triggers.
Timeout In Minutes: How many minutes before timeout.
Save Trigger History: Yes or No. Set this to Yes if you'd like a history of the trigger.
- Click Save Trigger.

There will be two additional tabs: Trigger History. Trigger History will log all event triggers that occur if the setting Save Trigger History is set to Yes.
Under the Trigger History tab:
- Clicking on the Trigger History tab will display each instance a trigger occurs.

Under the System tab:
- This tab gives details about the workflow such as workflow id, remote id, created time and by, modified date time and by.
Add a Task to a Workflow
Under the Tasks tab:
Tasks are what happens once an event is triggered.
- Click Tasks to expand the tab.
Any tasks that have been created will be listed here as well as a +Create New Task button to create a new task.
- Click the +Create New Task button.
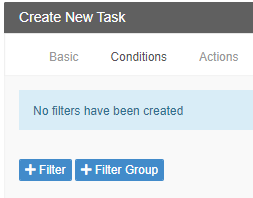
The Create New Task modal will appear with three tabs Basic, Conditions and Actions.

Basic tab: This tab contains the Task Name and Active status.
- Task Name: Add a task name here.
- Active: Indicate if the task is active by selecting Yes or No.
Conditions tab: If the task should only occur under certain conditions rather than every time the event is triggered, then create a filter here to specify the conditions. In the example where an email is generated once an order is placed successfully, no conditions need be applied. However, if a condition is desired:
- Click the +Filter button.
The Define Filter modal will appear.
.png)
Actions tab: This is where the action is added.

- Click the +Add Action button.
The Add Action modal will appear with the choices of Print, Email, Delete, Process, Webhook.

- Select Email from the Action Type drop-down.
- Click the black triangle to expand the available Email Templates in the type-ahead search box, or start typing to pull up the desired template.
- Select the desired template. In the example, Order Confirmation template would be selected.

- Click Save & Finish.
An Order Confirmation email will now be sent after every successfully placed order.