Collections
Collections are a powerful and useful feature of Ultra Commerce. Collections allow users to apply filters to data and customize the data fields that display. A report can then be created with this collection. This section details the creation and display of system-wide collections available to all users.
- Add a New Collection
- Add a Filter to a Collection
- View Display Options
- Add Display Field to a Collection
- Export a Collection Feature
- Reporting Feature
- Save a Personal Collection on Listing pages
Add a New Collection
-
Click on Telligence from the Ultra Commerce toolbar.
- Select Collections from the drop-down.
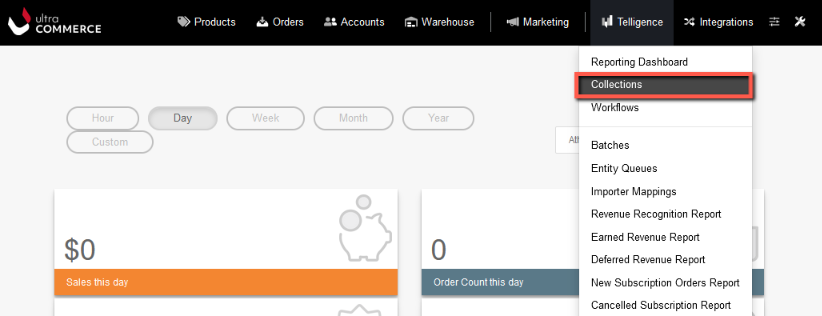
The collections listing screen will appear with a listing of the existing collections.
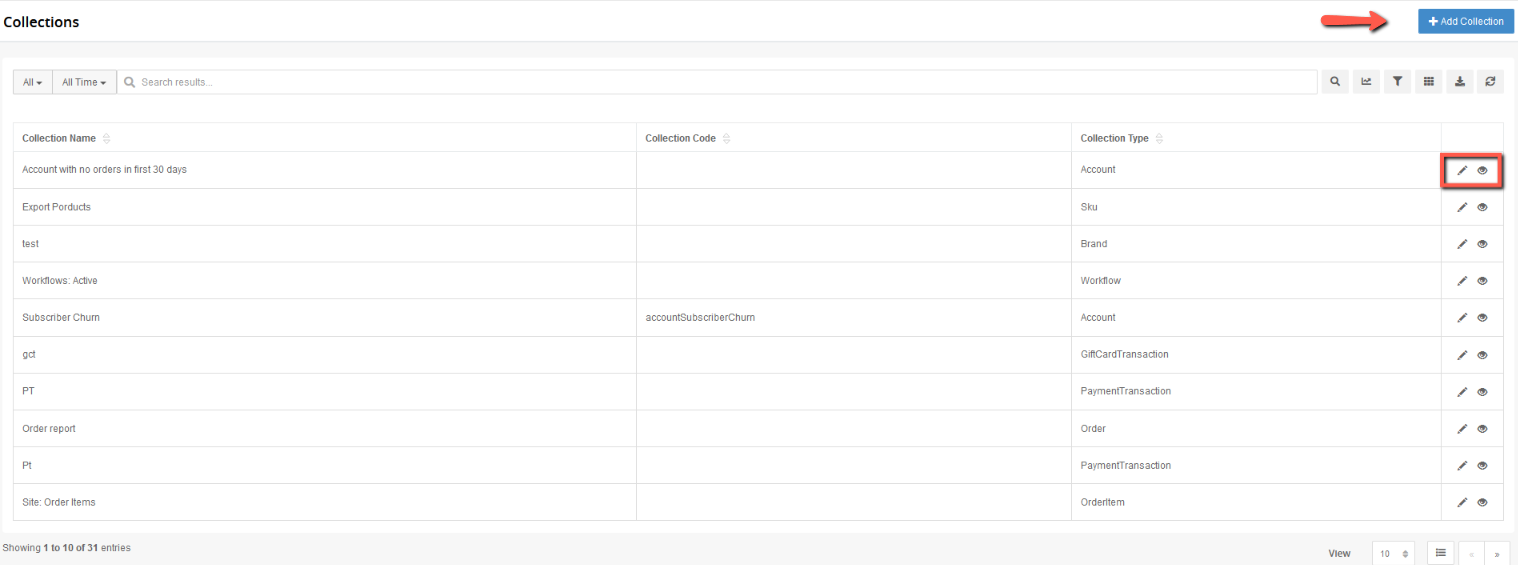
- Click on the +Add Collection button
The Create Collection screen will appear.
.png)
- Collection Name - Fill the this field with the name of the collection. This field is required.
- Collection Type - Select the collection type from the drop-down. This is the type of object the collection will be based on. Example: A Collection Type of Product will create a full collection of products in the database.
- Description - Fill in this field with a description of the collection. This field is not required.
- Collection Code - Fill in this field with a collection code. This field is not required.
- Base Collection - This drop-down will include collections based on the Collection Type that was selected above. This field is not required. Use of this field allows for creating a collection based on another one. For example, if the new collection will include all orders shipping to NY within a specific time-frame, the base collection could be all orders shipping to New York.
.png)
- Click Save.
The collection detail screen will display the Configuration tab and all records for Orders will display in view mode.
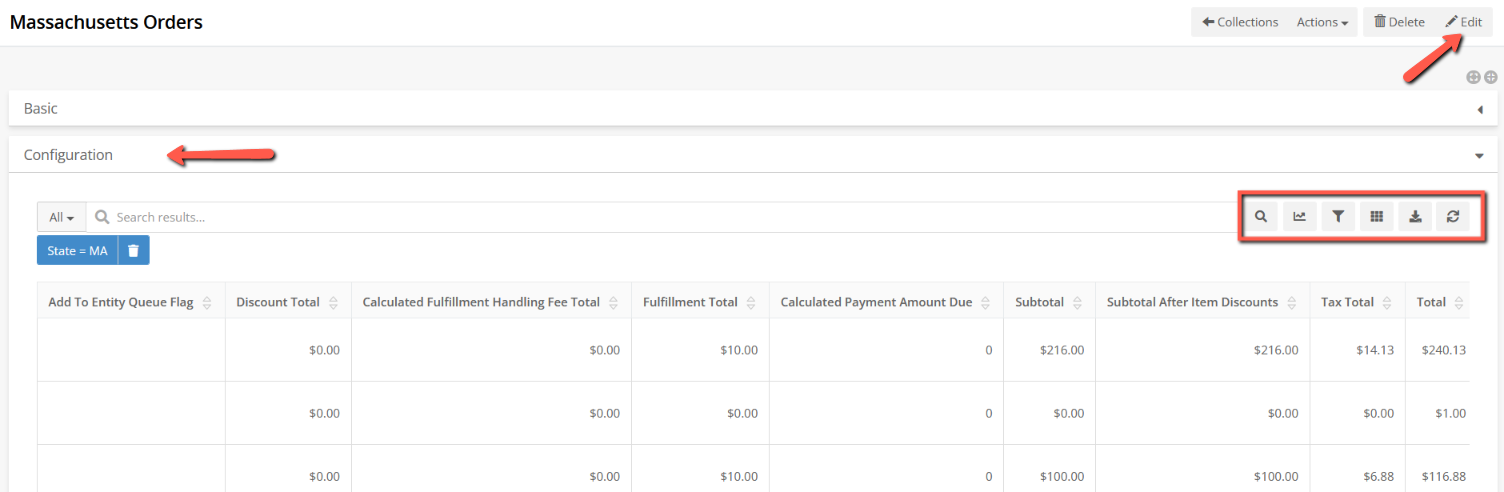
In view mode, two icons are available: Search, Reporting, Filter, Display Options and Export. These are explained in more depth in this section.
In order to make any changes on the Configuration tab for example, create a Report, add a Filter or edit the Display Options, and have them save to the collection you want to click the edit pencil so that any changes or anything you add can be saved.
Add a Filter to a Collection
In order to apply a filter to include only orders shipping to Massachusetts:
- Click the Edit pencil icon in the upper right-hand corner of the detail screen to open in edit mode.
The collection detail screen will appear in edit mode.

There will be two additional icons: Filtering and Display Options in addition to the Reporting and Export icons,

To add a filter:
- Click on the Filter icon as shown above.
+ Filter and + Filter Group buttons will appear.
![]()
- Click on the + Filter button.
The Define Filter popup will appear.

- Click the Select From order drop-down menu and make a selection. In this case select Shipping Address.
- Select a Criteria from the radio buttons, in this case Use Shipping Address Field
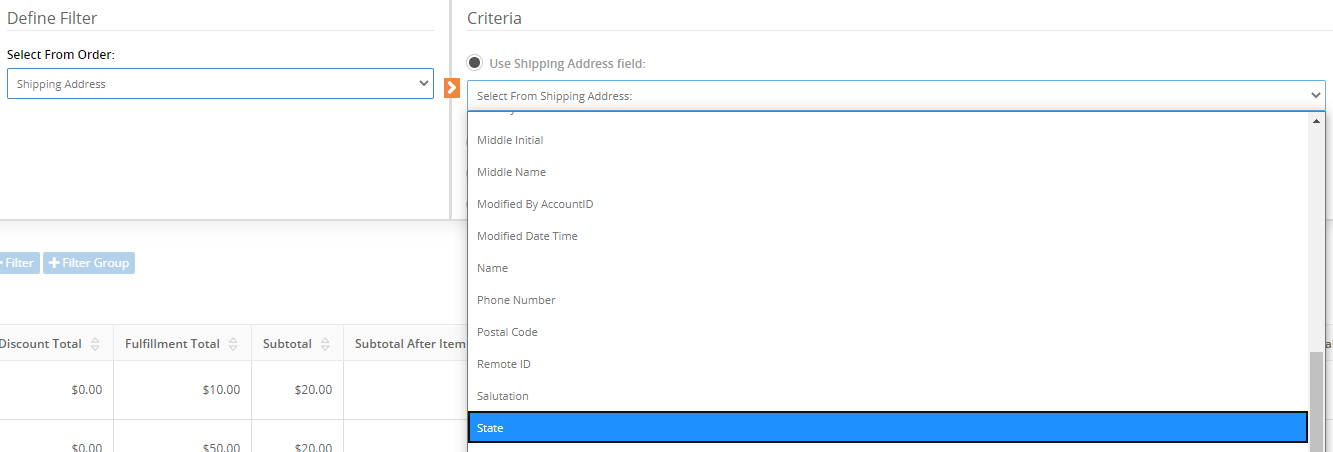
- From the Select From Shipping Address drop-down select State

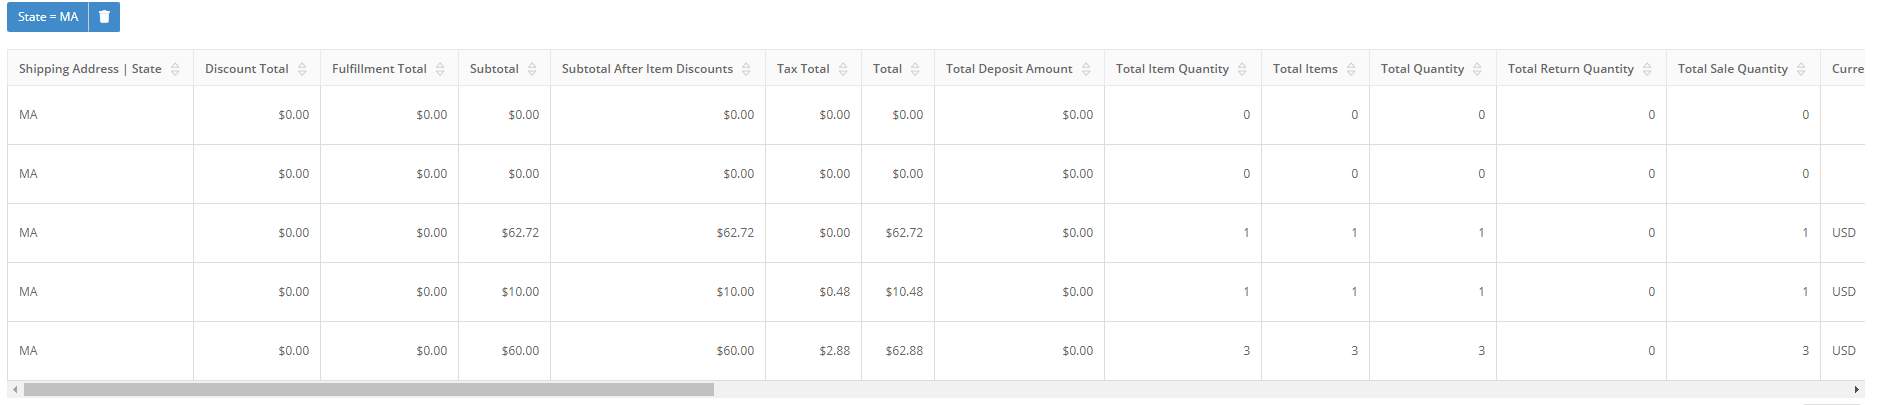
- From the Condition drop-down select Equals
- Add MA to the Value field.
- Click Save and Finish to add one filter.
In order to Save this filter to the Collection:
- Click Save in the upper right hand corner of the collection detail.
The records for all Massachusetts orders with Massachusetts shipping address will display.
View Display Options
The data fields that display as columns in collections can be customized. They can be added, moved, deleted, searched, viewed, and exported.
Above is the icon for Display Options. before clicking it, you must be sure that the collection detail is in edit mode:
- Click the Edit pencil icon in the upper right-hand corner of the detail screen to open in edit mode.
The collection detail screen will appear in edit mode.
Now that the page is in edit mode, to edit Display Options:
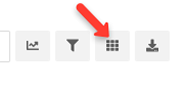
- Click the Display options icon as shown above.
The display options listing will appear.

- Hovering over a line will make a compass icon appear that allows the user to left click and drag display options to reorder them.
- Click the Edit link next to the display option title to edit the display options title.
- Click the Eyeball icon to make the display option Visible (dark) or not visible (light grey) in the table.
- Click the Search icon to make the display option searchable (black) or not searchable (light grey) within the table.
- Click the Export icon to make the display option available for export (black) or not available for export (grey).
- Click the X to remove the display option from the list of display options for the collection.
Add Display Field
You may decide that you like to add fields to your collection.
To add a Display Field to the display options:
- Click the Add Display Field button located at the bottom of the existing display options list.
.png)
The Define Display Option popup will appear.
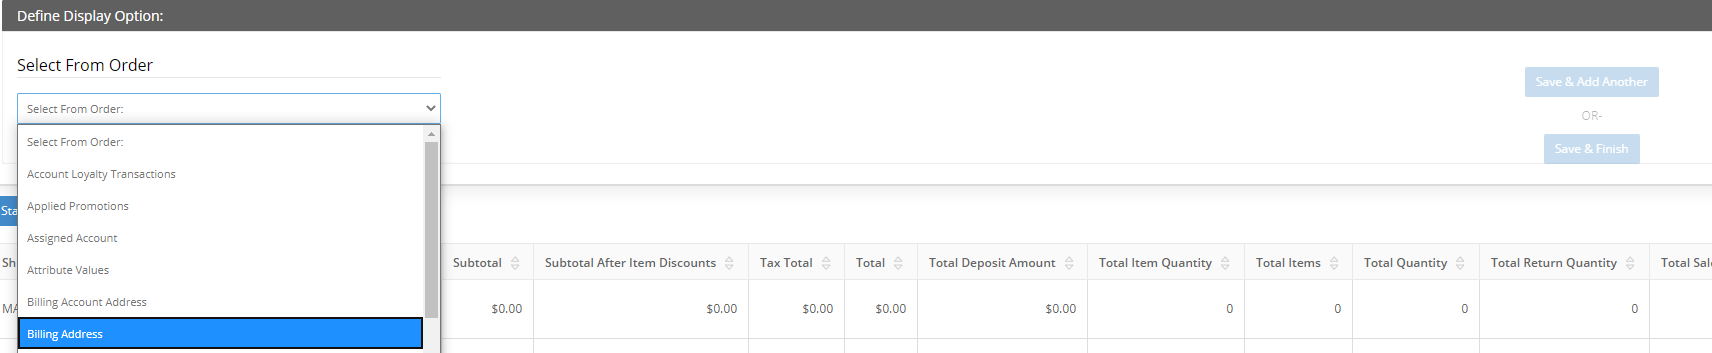
- Select an option from the drop-down and then click Save & Finish or Save & Add Another.
The Display option will appear at the bottom of the list. To save the changes to the display options,
Export Feature
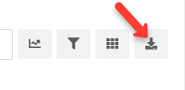
- Click the Export icon as shown above.
A .csv file will be downloaded.

Collection Reporting Feature
Be sure before you click the Report icon as shown below that you have the collection detail page in edit mode by clicking the pencil icon in the upper right hand of the collection detail page.
Once you have a collection, you may want to run reports such as total sales each month or another time frame.
In order to create a report:
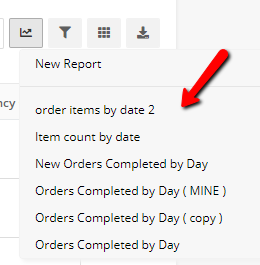
- Click the Reporting icon and a drop-down will appear with different reports available and with the ability to add a new report. The collection below is based off of Orders, so a number of out of the box reports display as well.
.png)
If you would like to add a new report:
- Click New Report
The Orders Report screen will display.
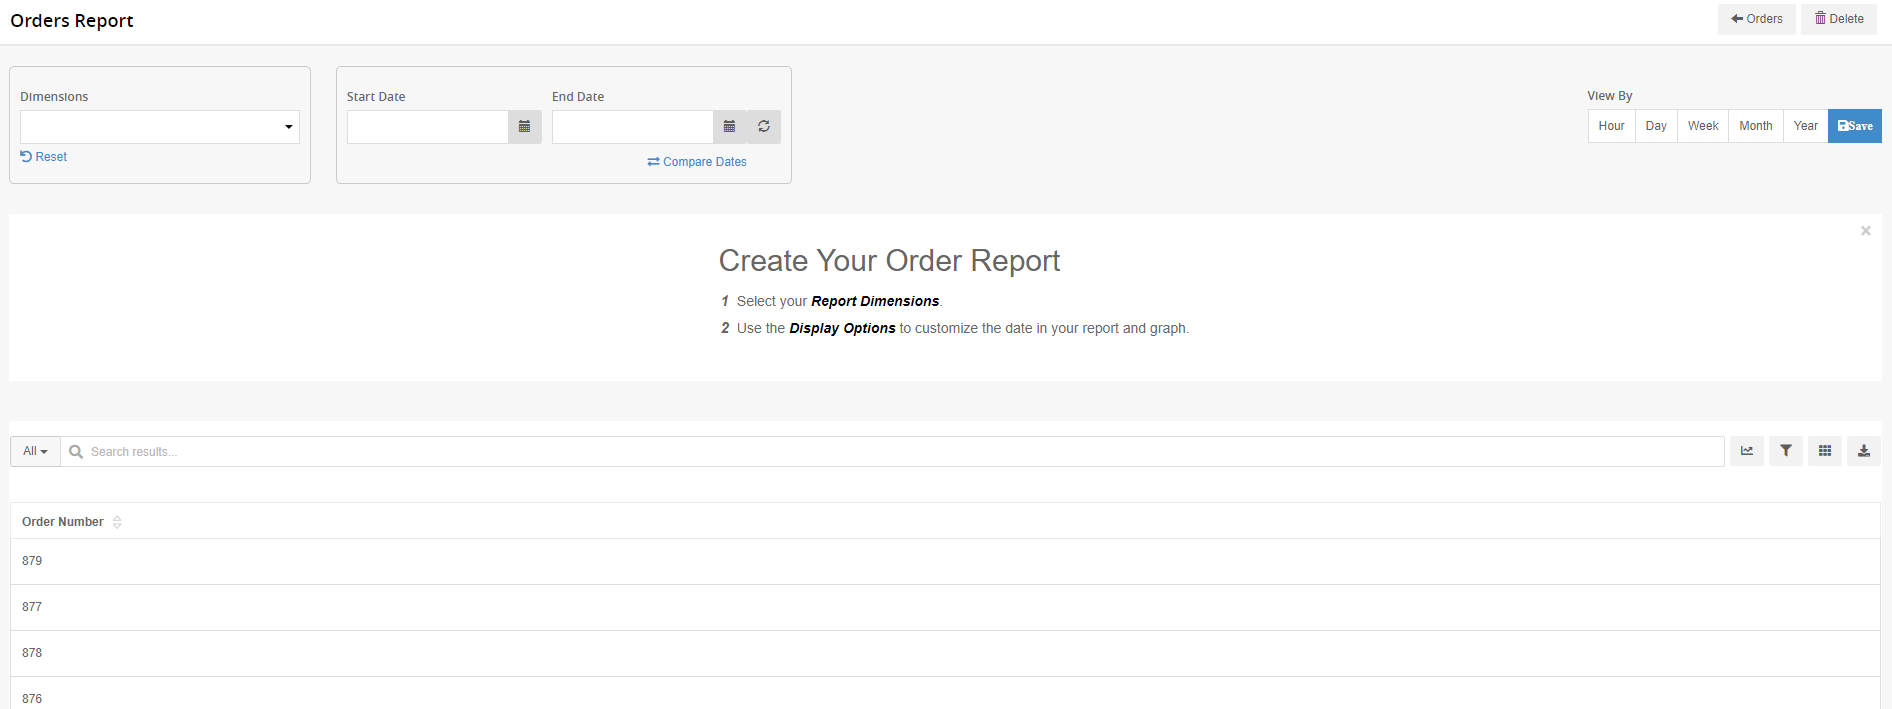
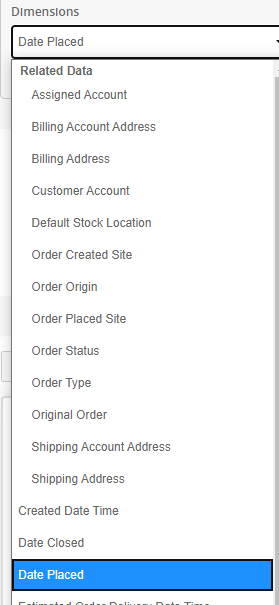
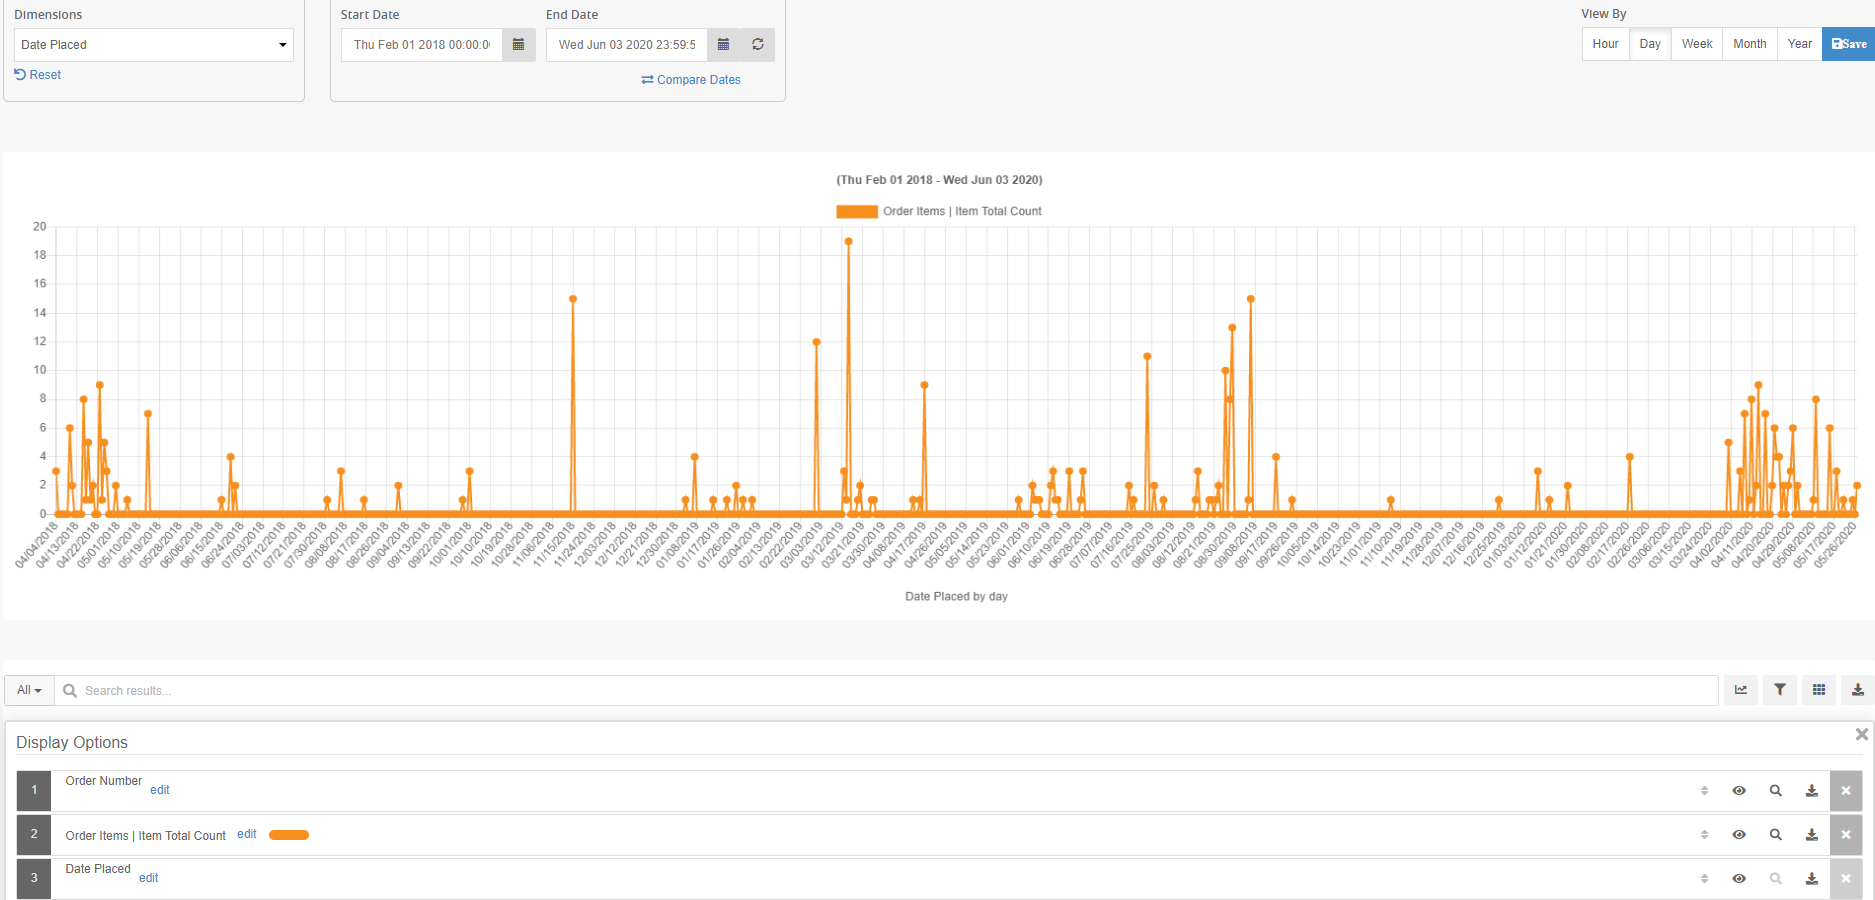
- Select the Report Dimensions from the drop-down.
In this example Date Placed is selected.
* Note, doing so will eventually automatically add Date Placed as a Display Option, so no need to manually add Date Placed as a Display Field.
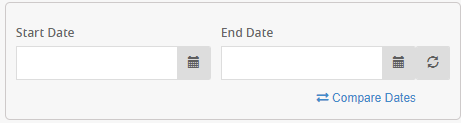
Now add in the dates for the report.
- Add the Start Date and End date
- Use the Compare Dates feature to compare to date ranges if desired.
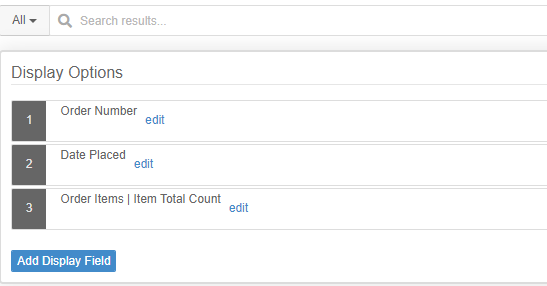
Use the Display Options to customize the data in the report and graph. When a new report is created, display fields need to be added. In the example below, only Order Number is displayed by default for an order collection.
- Click the Display Options icon to the right of the screen
- Click Add Display Field button that appears.

In this example add Order Items Item Total Count display option.
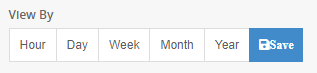
- Click on a selection for View By by selecting on of the following: Hour, Day, Week Month or Year. This can be changed to view the graph by hour, day, week, month or year.
Now that this is defined (and can be changed) the Date Placed Display Option will appear and the Graph will also appear.
- Click Save to save the report and have it saved to the Reporting drop-down for future use.
Save a Personal Collection
Personal collections allow individual users to create their own personal collections for reporting since users typically have unique needs. This feature can be found on listing pages such as Products, Carts and Quotes, Orders, Accounts, Stock Receivers, etc.
To create a personal collection, navigate to the desired listing page. In the following example an Order personal collection will be created.
- Select Orders from the main navigation and then select Orders from the drop-down.
.png)
The Orders listing page will appear with several icons to the right of the search bar: Reporting, Save Report, All Saved Reports, Filtering, Display Options, and Export.

To create a personal collection:
- Click on the Filtering icon
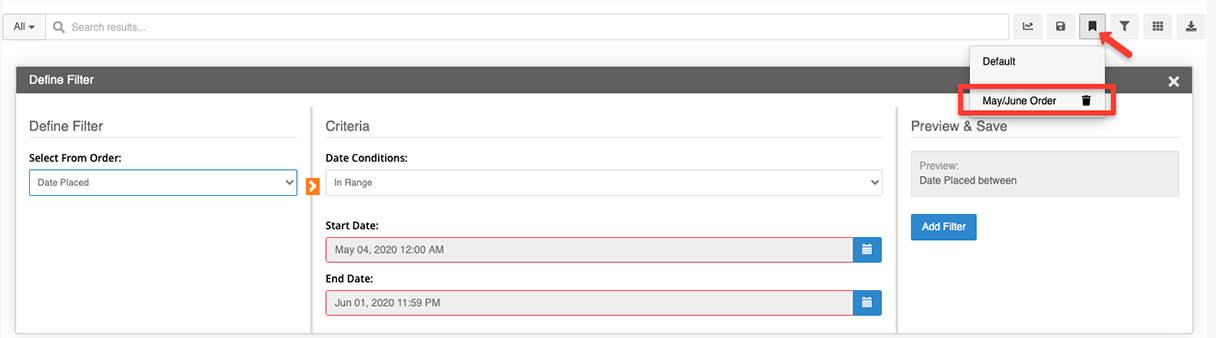
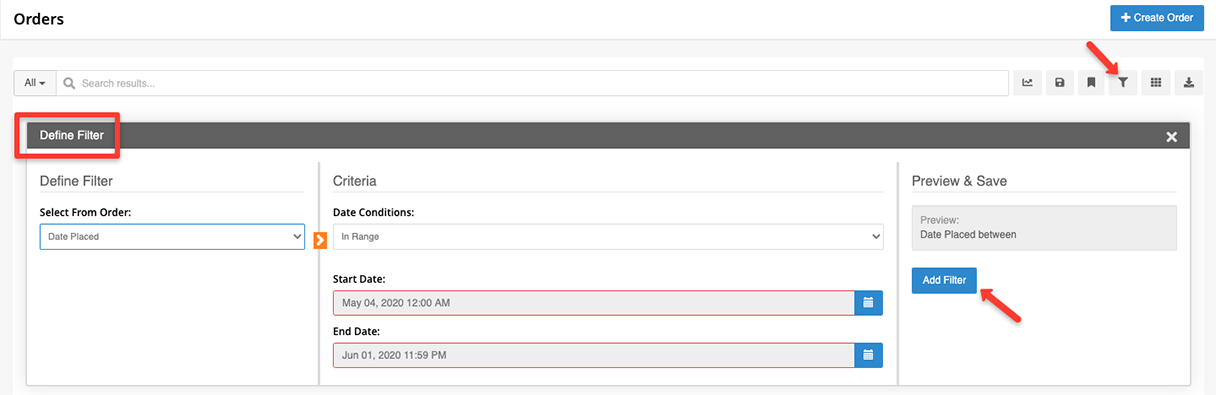
The Define Filter pop-up will appear.
- From the Select from Order drop-down make a selection, in this case Date Placed was selected.
- On the Select a Condition drop-down select a condition, in this case In Range was selected and a Start Date and End Date must be set.
- After setting the dates, click the Add Filter button.
- Click the Save Report icon
- Fill in the name field and then click Save.
Now click the Saved Collections icon to view the personal collection that was just created. Users can switch between the Default view and any added collections.