Stock Adjustments
Stock adjustments are sometimes necessary to rectify discrepancies between inventory numbers listed in Ultra Commerce and actual inventory on hand - so you might perform a Physical. Or after you Makeup a Sku Bundle, you might decide you need to Breakup Bundled Skus. All of these actions performed in other areas of the Ultra Commerce admin will create a stock adjustment and they will show up on the Stock Adjustments listing.
You can also do a Location Transfer between locations, a Manual In to a location or a Manual Out from a location. These actions are performed in this area of Ultra Commerce admin.
To access the Stock Adjustments listing page:
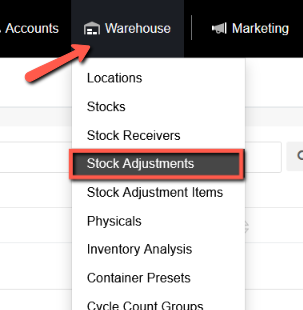
- Select the Warehouse from the Ultra Commerce toolbar
- Choose Stock Adjustments from the drop-down.
The Stock Adjustments listing page will appear.
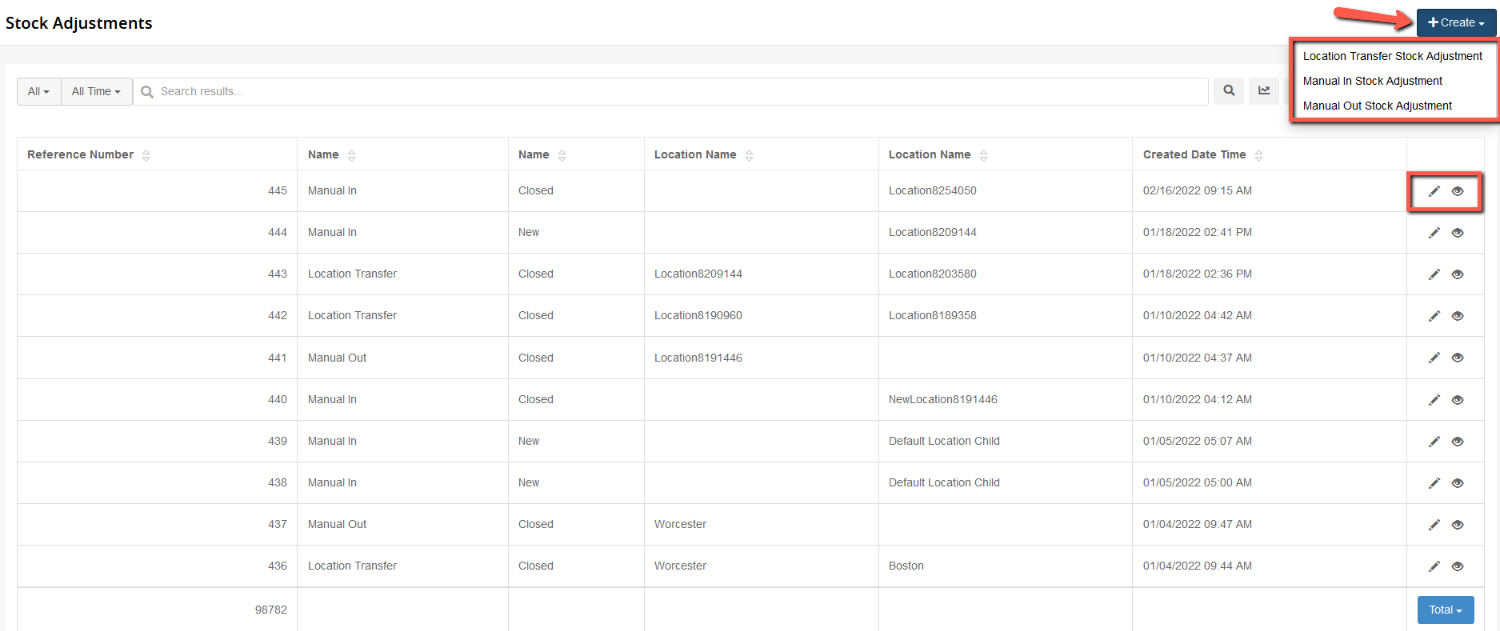
Listed on the main screen, depending on how many are entered, are all of the stock adjustments (both open and closed) and the date they were created. Besides listing manual in, manual out and location transfer adjustments, this screen will also list closed Physicals which are created in the Physicals section of the Ultra Commerce. Breakup Bundled Skus also appear here.
Creating Stock Adjustments
There are three types of Stock Adjustments that can be created: Location Transfers, Manual In transfers and Manual Out transfers.
Create a Location Transfer Adjustment
To create a new Location Transfer stock adjustment:
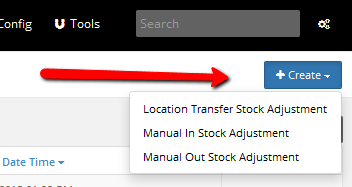
- Click on the blue +Create button.
There are three types of Stock Adjustments currently available in Ultra Commerce:
Location Transfer Stock Adjustment, Manual In Stock Adjustment, and Manual Out Stock.
Create a Location Transfer Stock Adjustment:
- Choose From and/or To Locations.
- Click Save.

The location transfer stock adjustment detail screen will appear with several tabs: Stock Adjustment Items, Stock Receivers, and Stock Adjustment Deliveries.
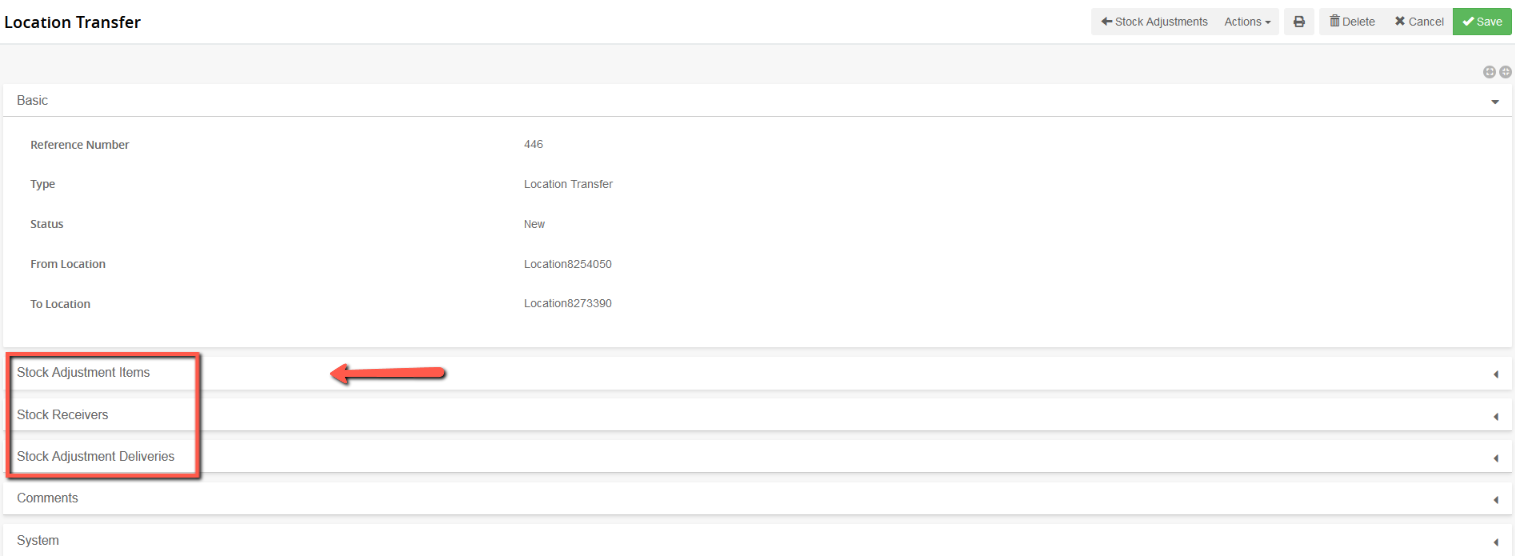
Select the Items for transfer
It is now time to select the items to transfer from one location to the other:
- Expand the Stock Adjustments Items tab.
.png)
- Fill the Quantity field with the number of items that you would like to transfer
- Click Add to the right of the item that you would like to transfer (the quantity must be available).
The item will now appear directly below the Stock Adjustment Items heading.
Process the Adjustment
Once you have added all the items you need to transfer from one location to another, it is time to process the adjustment when the item arrives at the new location.

- Click Actions at the top of the screen.
- Select Process Adjustment.
The Location Transfer adjustment will now be closed.
Stock Receiver tab
If you look on the Stock Receiver Tab there will be a stock receiver created.

Stock Adjustment Deliveries tab
There will also be a Stock Adjustment Delivery created on the Stock Adjustment Deliveries tab.

Create a Manual In Stock Adjustment
Create a Manual In Stock Adjustment:
- Click +Create at the top of the Stock Adjustment listing page.
- Select Manual In Stock Adjustment from the drop-down.

- Choose the To Location.
- Click Save.

The Manual In detail page will appear.

Expand the Stock Adjustment Items tab.
- Fill in Quantity of Skus.
- Click Add to the right of the desired Skus.
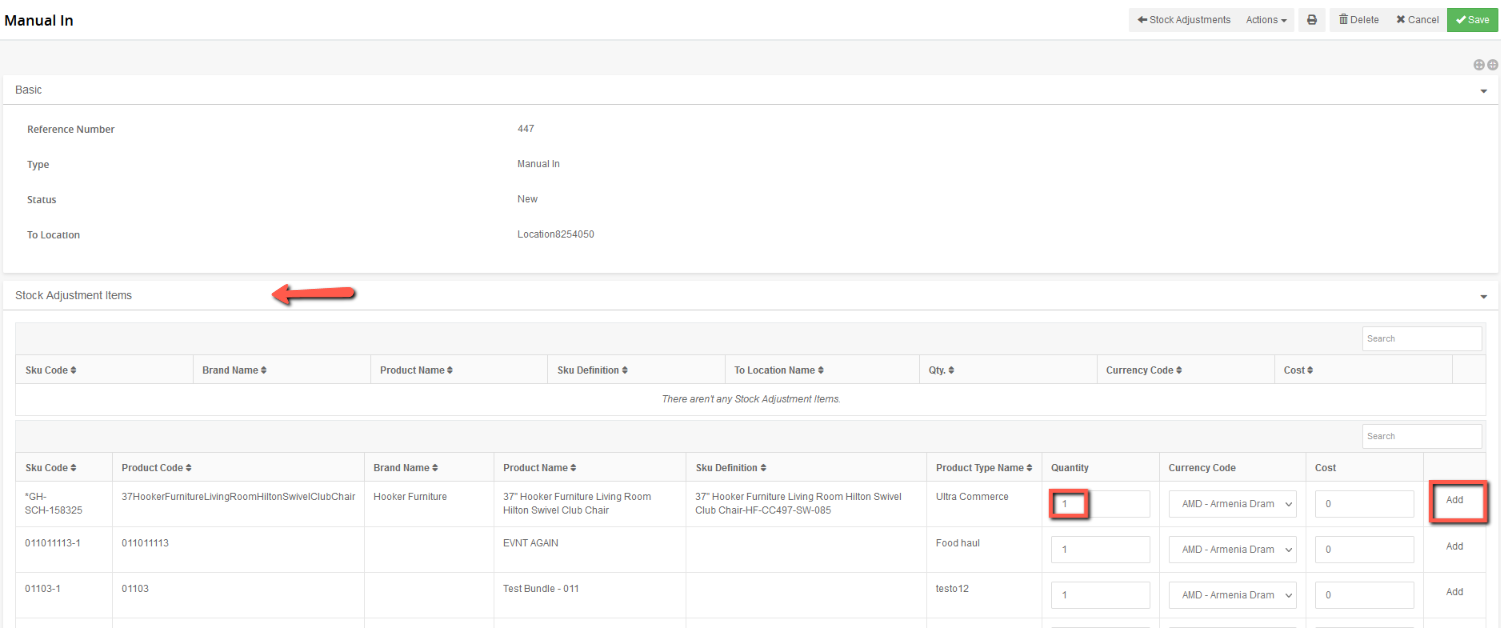
Once you have added the skus, it is time to process the adjustment.

Create a Manual Out Stock Adjustment
Create a Manual Out Stock Adjustment:
- Click +Create at the top of the Stock Adjustment listing page.
- Select Manual Out Stock Adjustment from the drop-down.

- Choose the From Location.
- Click Save.

On the screen that follows, you will see several tabs, the default being Stock Adjustment Items.
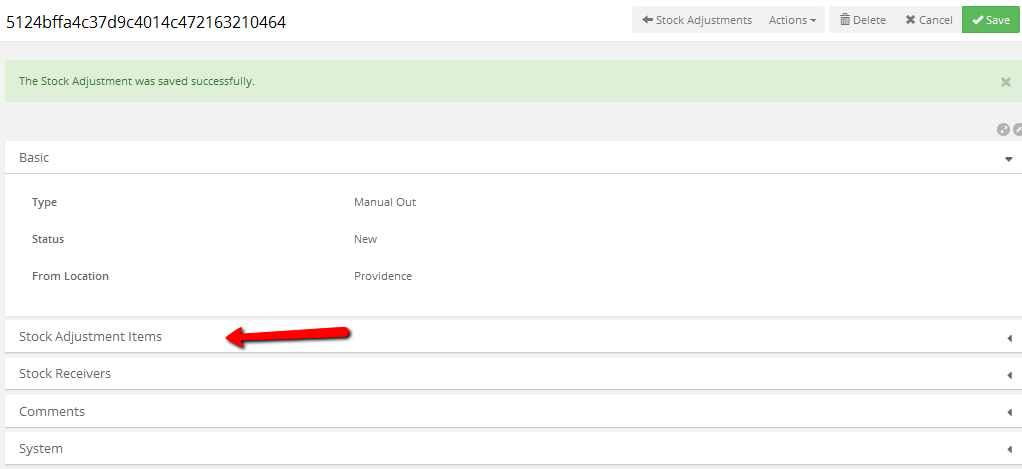
Expand the Stock Adjustment Items tab.
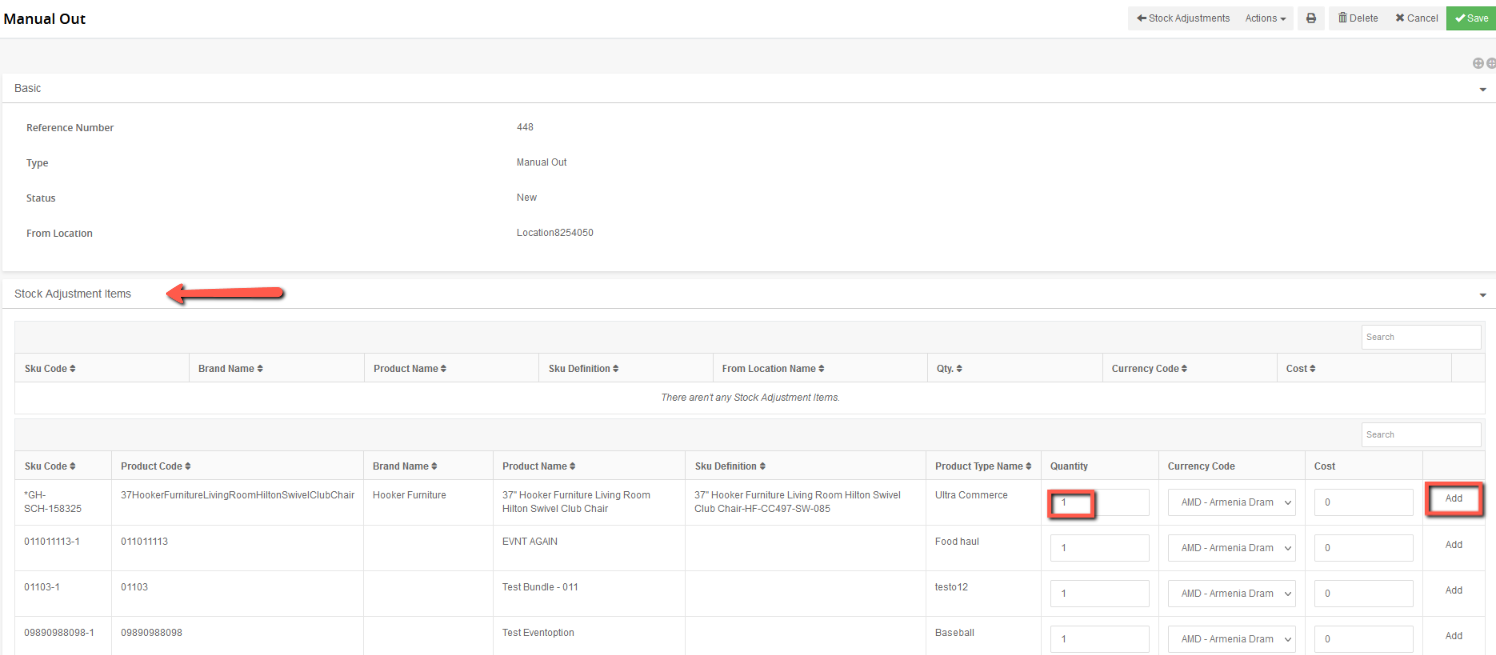
Ultra Commerce assumes that stock adjustments have not already occurred (that is, they assume that you are about to add or remove stock from a given location). If no shipment is required for the updated quantities to be correct, simply choose Process Adjustment from the drop-down Actions menu at the top of the page. This will close the adjustment.
For Transfer and Manual In Adjustments, a Stock Receiver will also be created; if an actual shipment is associated with either, expand the Stock Receivers tab and then click on the stock receiver view icon. This will bring you to the stock receiver detail screen. Click edit in the upper right hand of the screen if you would like to add in a packing slip number and box count, then save. The Stock Receiver created can also be found on the stock receiver listing page for future reference.
